|
These are the steps to reefing the main sail, at least how I am doing it. I had the opportunity to reef the sail on couple of occasions during 2012 season. I reef the sail before I launch the boat. If the wind dies down, I can shake the reef out easy enough. I really liked how the boat sailed with the main sail reefed.
(The next slides will show the process in more detail).
|
|
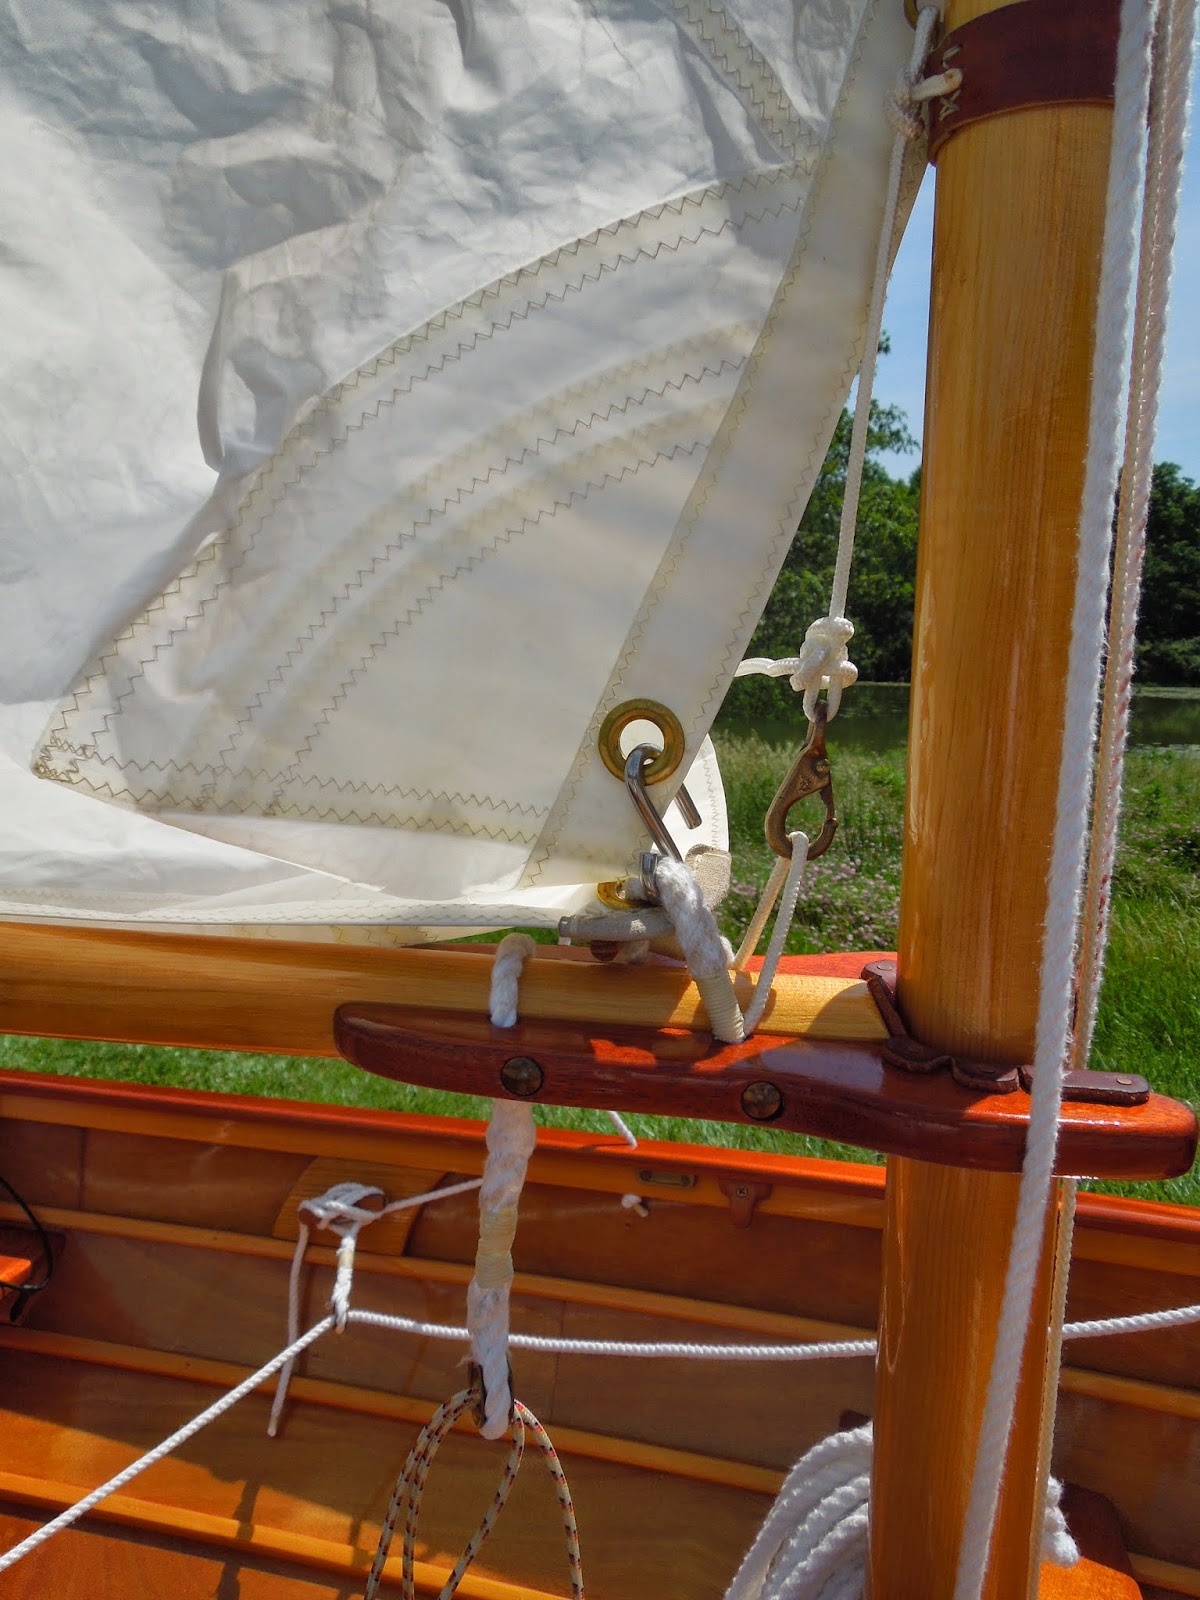
| 1. With the non reefed sail raised all the way, the first step that I do is lower the sail and hook the tack reef grommet into the reefing hook that is attached to the boom jaw. |
|
2. Next, I go to the end of the boom, and pull on the clew reef line that I have set up. Kind of a jiffy reef set up.
(Here is the reef line highlighted in blue.) |
|
3. Then I cleat off the clew reef line and tidy it up by wrapping it between the the reef cleat and the outhaul cleat just to keep the length of clew reef line from dangling way down.
(Here it is highlighted in blue.)
|
|
4. Then roll and tie up the sail with the reef cringles as shown here.
|
 |
| Finally, the downhaul will need to be snugged up. |
Note: A good book for picking up great ideas for small boat sails is "The Working Guide to Traditional Small Boat Sails by David L. Nichols. I get a lot of good ides from this book.
|
Here is a link to a web site with instructions on tying this reef knot.
http://sailing.about.com/od/learntosail/ss/Reefknothowto.htm |
TOPPING LIFT/LAZY JACK COMBINATION
 |
| Here is a drawing of my boat that shows the Topping Lift/Lazy Jack lines in RED. It is one continuous line that runs from the cleat up to a thimble at the top of the mast, down to the retaining block at the bottom of the boom and back up to the top of the mast. When the sail is fully raised, the line is slack as shown in this drawing. As soon as the halyard is released and the sail begins to lower, the line goes tight and holds the boom up along with a short piece of line attached to the boom jaw at the mast. (SEE ADDITIONAL PICTURES BELOW) | | | | | | | | | | | | | | | | | | | | | | | | | | | | | | | | | | | | | | | | | | | | | | | | | | | | | | | | | | | | | | | | | | | | | | | | | | | | | | | | | | | | | | | | | | | | | | | | | | | | | | | | | | | | | | | | | | | | | | | | | | | | | | | | | | | | | | | | | | | | | | | | | | | | | | | | | | | | |
|
|
|
|
 |
| Here is a view with the sail down and the Topping Lift doing its thing to hold the boom up. The sail and yard fall nicely on top of the boom. |
 |
| This is the top of the mast showing the Topping Lift/Lazy Jack lines. |
 |
| Here is the line and cleat at the front of the mast. The line runs through a small hole in the base of the cleat. The knot in the line is a stopper knot that sets the length of the Topping Lift/Lazy Jack line to hold the boom up at the desired height. |
 |
| HERE IS THE NEAT THING ABOUT THE SYSTEM. I can use the line to raise the bundled sail, boom, and yard out of the way while I row the boat. I use 3 bungie ball cords to bundle the sail assembly. I use the CLEAT as shown above to secure the line in this shorter position. | | | |
|
 |
| Here is the shortened cleated line. |
 |
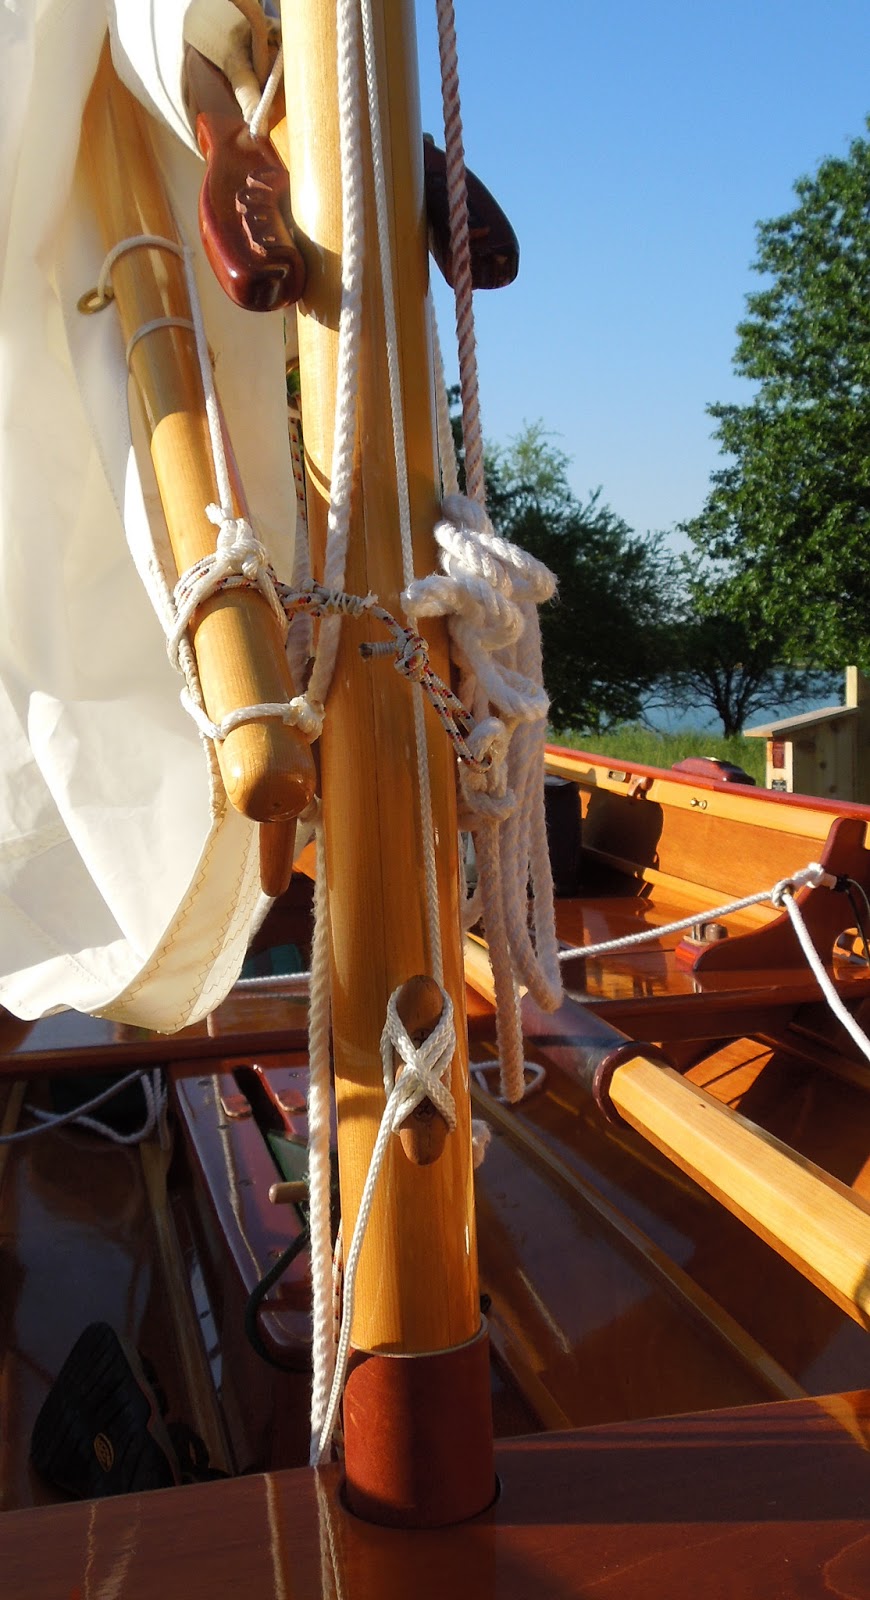
This view shows the short line and clip that I use to keep the boom jaw from falling down when the main sail halyard is lowered. When the sail is raised, the boom jaw is up near that leather band on the mast.
NOTE: I have removed the leather band since this picture was taken. It was only there to give me a point of reference to how high to raise the yard up. I now gauge that by the pad eye that is used to tie off short line with the clip. |


No comments:
Post a Comment